Painting a washer and dryer can completely change how a laundry room feels, especially if the appliances are the biggest visible surfaces in the space. With the right prep, paint choice, and finishing touches, the result can look more like a designed feature than a quick DIY shortcut.
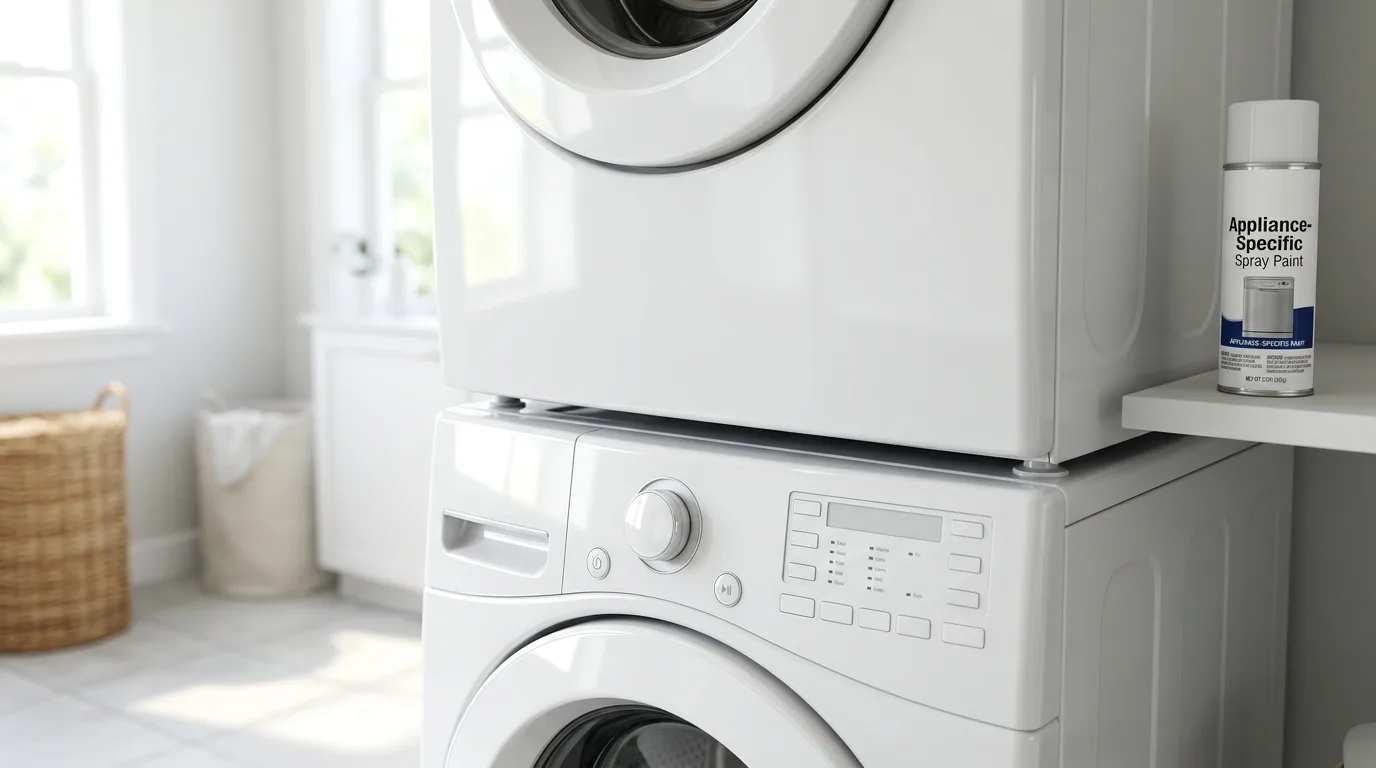
Choose appliance-specific paint first
The finish matters as much as the color, so start with paint designed to grip metal surfaces and handle everyday wear. A smooth matte or gloss coat can instantly make older machines look more current.
Styling tip: Repeat the main color in a few places so the look feels connected instead of random.
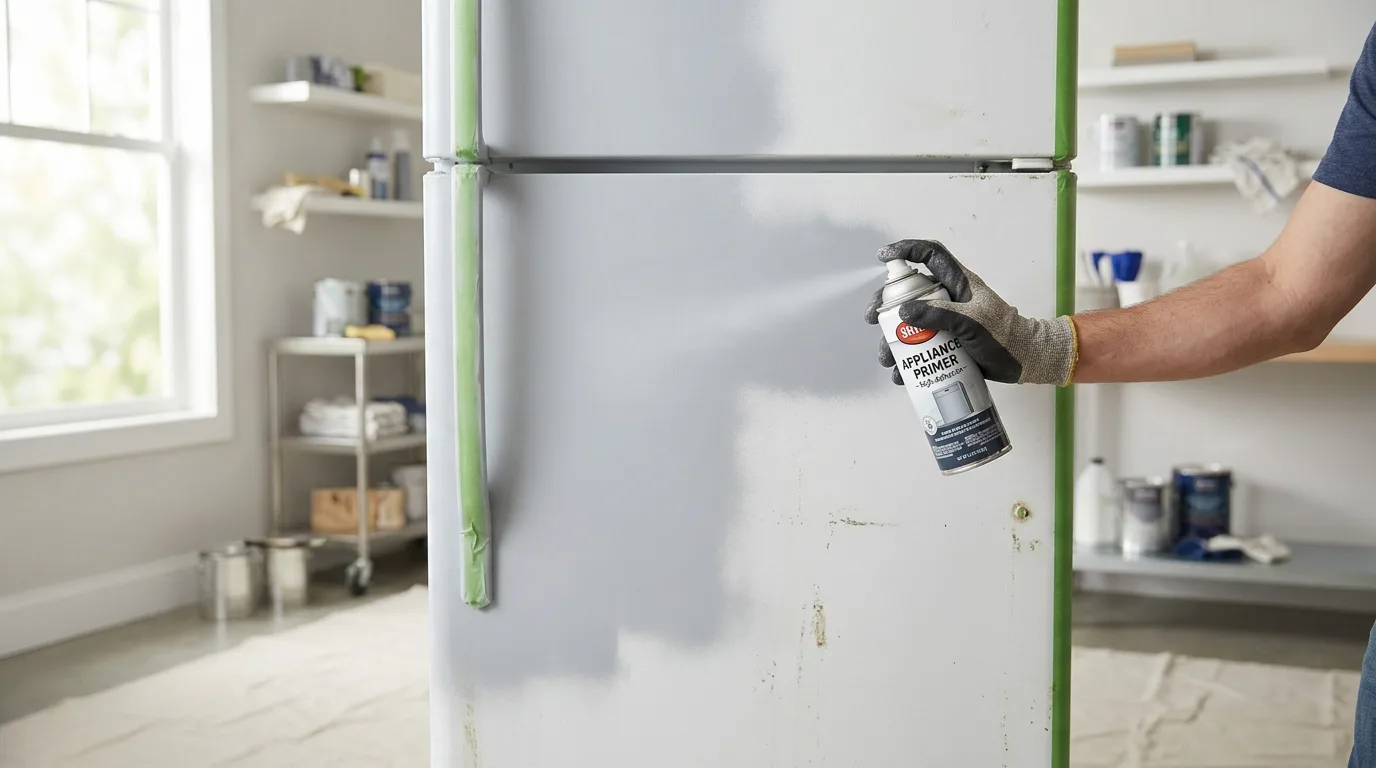
Do not skip primer
A good bonding primer helps the paint adhere properly and improves the longevity of the update. It is one of the most important steps if you want the makeover to last.
Styling tip: Repeat the main color in a few places so the look feels connected instead of random.
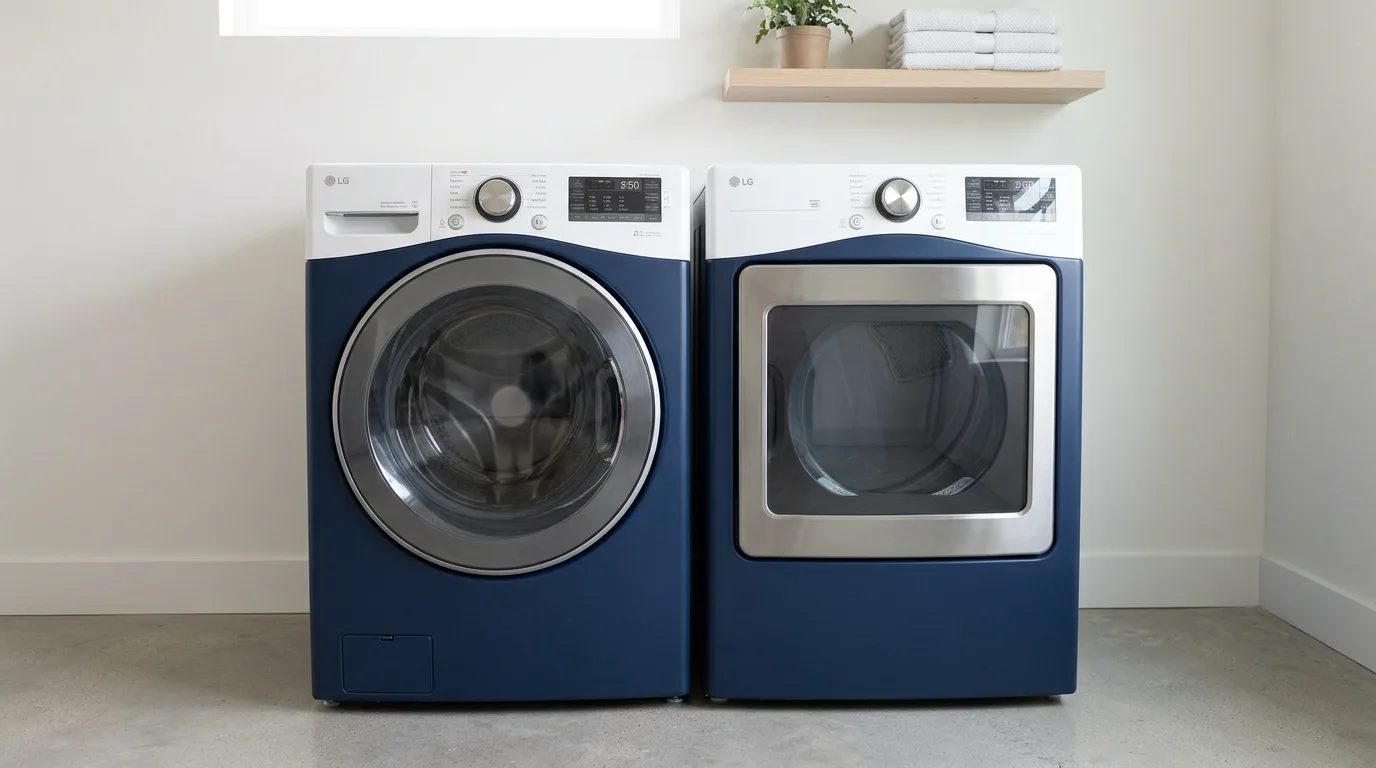
Try a two-tone color scheme
Painting the body one color and the top panel another can make appliances look more custom and designed. It is a smart way to add interest without committing to an overly bold full-color finish.
Styling tip: Repeat the main color in a few places so the look feels connected instead of random.
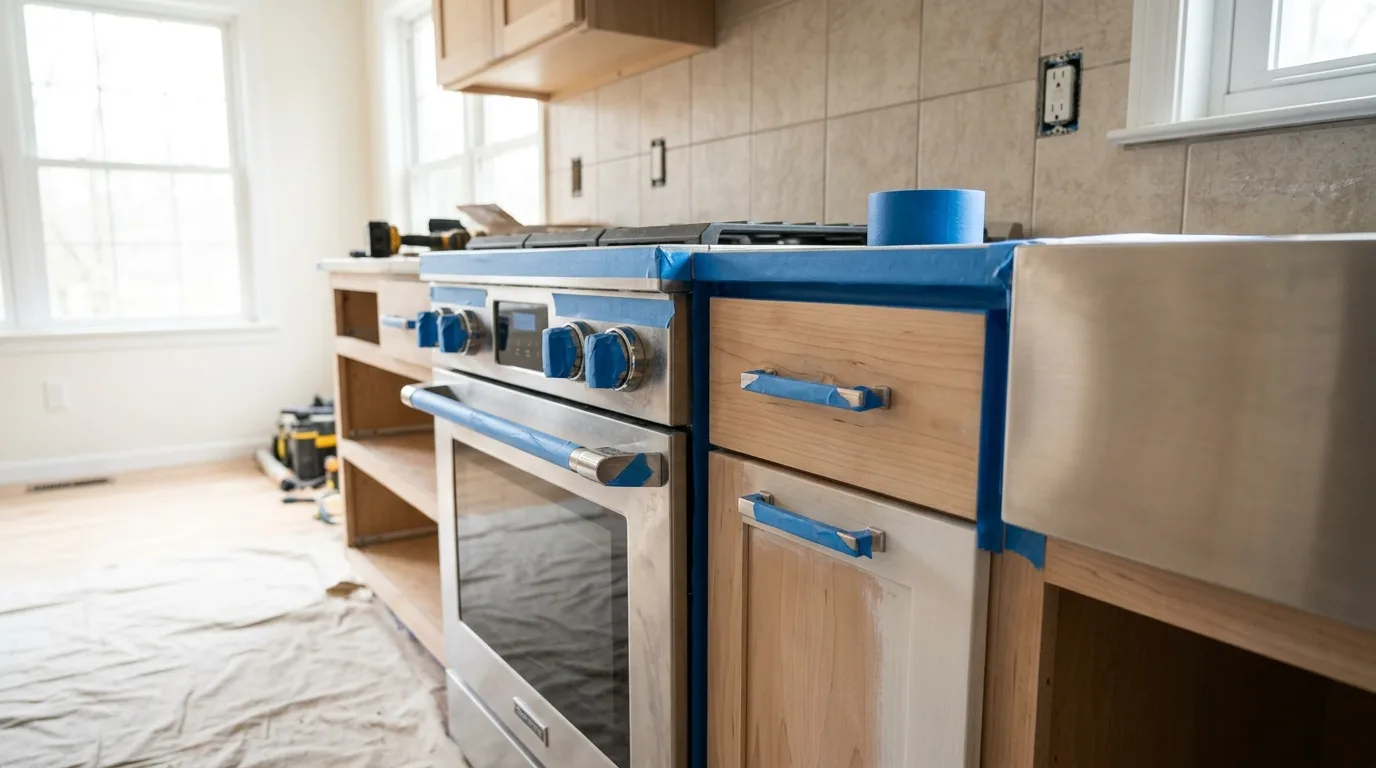
Use painter's tape for clean edges
Handles, dials, labels, and trim need careful masking if you want the finished project to look polished. Sharp edges are what make a DIY appliance update feel intentional instead of rushed.
Styling tip: Repeat the main color in a few places so the look feels connected instead of random.
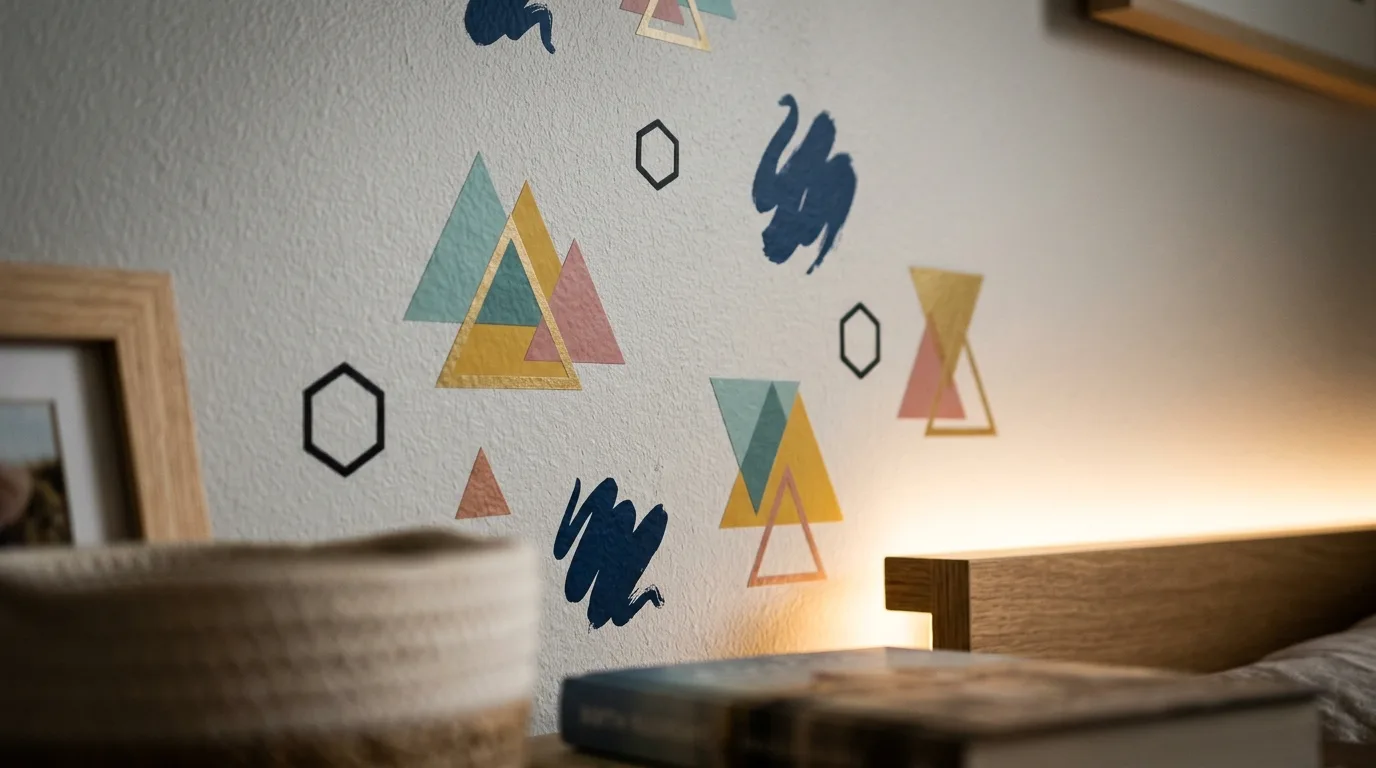
Add decals if you want personality without permanence
Removable decals or graphic accents can help personalize the machines after painting, especially in more playful or family-friendly laundry rooms. Because they are removable, you can refresh the look later without repainting.
Styling tip: Repeat the main color in a few places so the look feels connected instead of random.
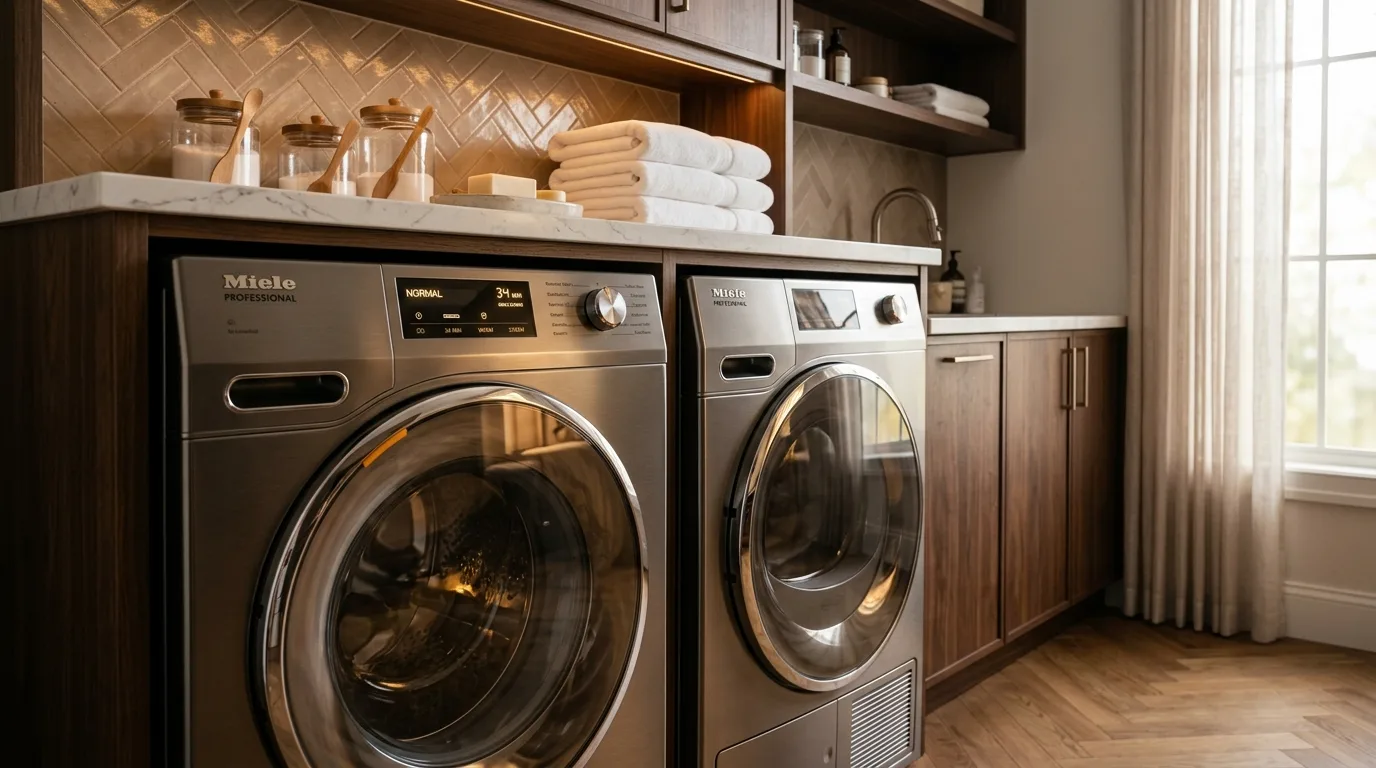
Metallic finishes feel surprisingly upscale
A metallic or reflective finish can make a laundry room feel more modern and high-end when the surrounding space is kept clean and simple. This works best when paired with minimal clutter and strong lighting.
Styling tip: Keep the lighting warm and soft so the setup feels inviting instead of harsh.
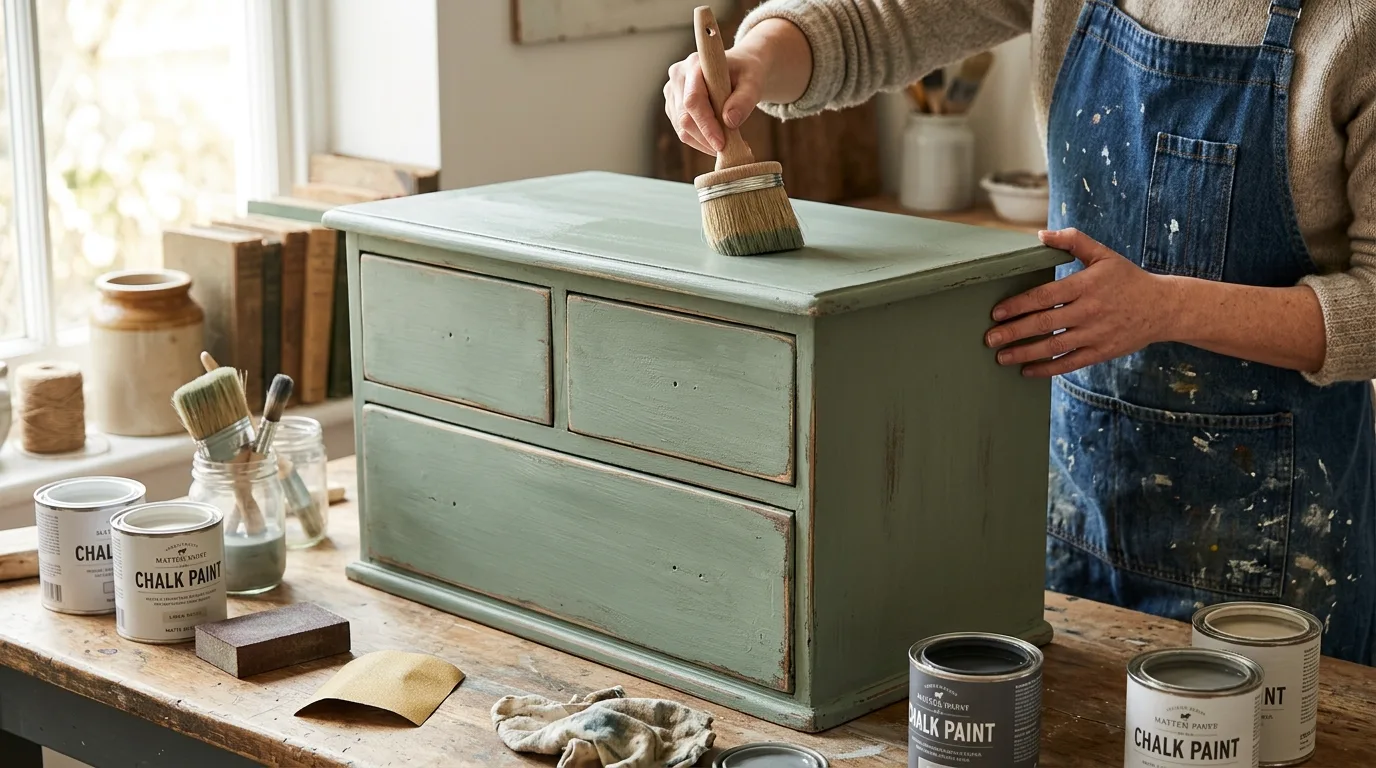
Use chalk paint only for a softer vintage effect
If your laundry room leans farmhouse or rustic, a chalky finish can give the appliances a more weathered and decorative look. Just make sure the overall room style supports that softer finish.
Styling tip: Repeat the main color in a few places so the look feels connected instead of random.
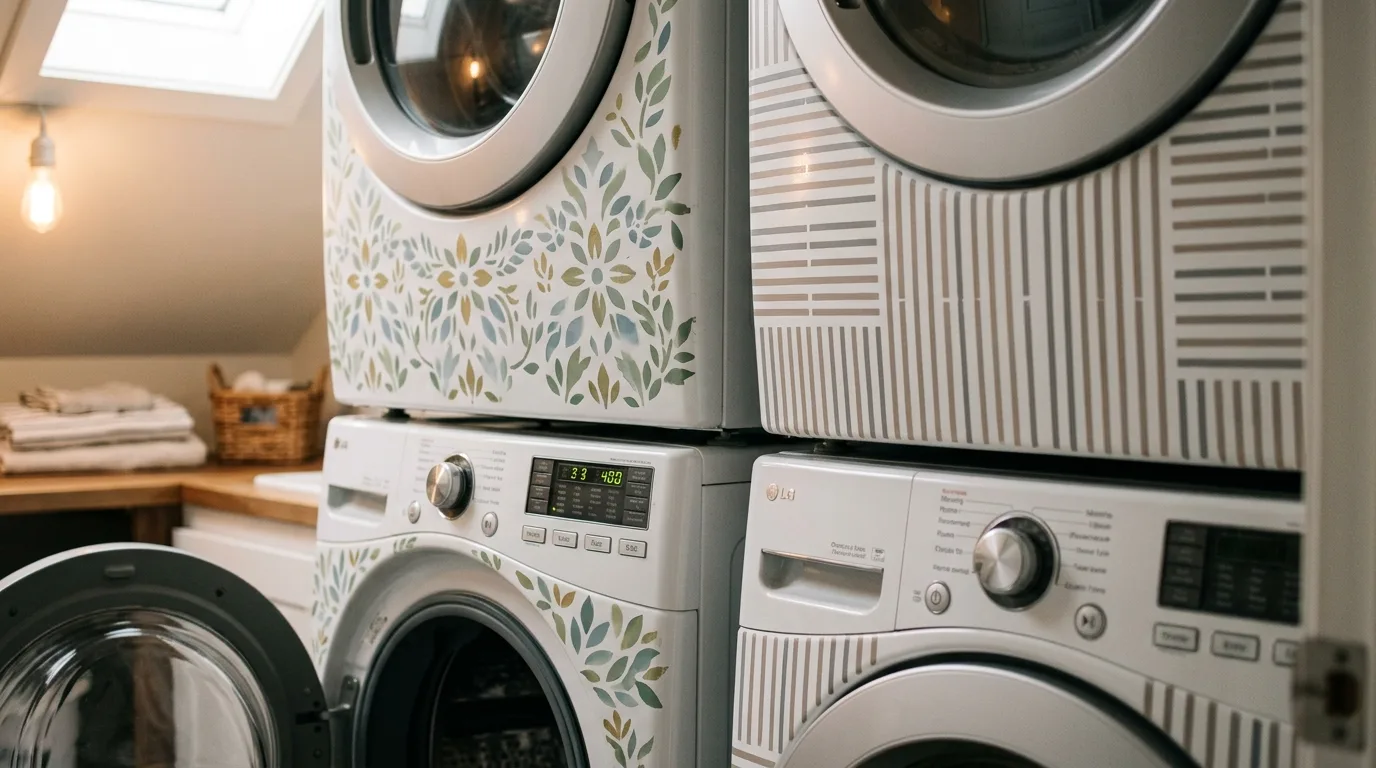
Stencils can add a custom front panel
Subtle stripes, florals, or geometric stencils on the front of the machines can make them feel more integrated into the room design. The key is to keep the pattern controlled so it does not overpower the space.
Styling tip: Focus on mask handles, dials, and trim so the final result looks crisp and intentional.
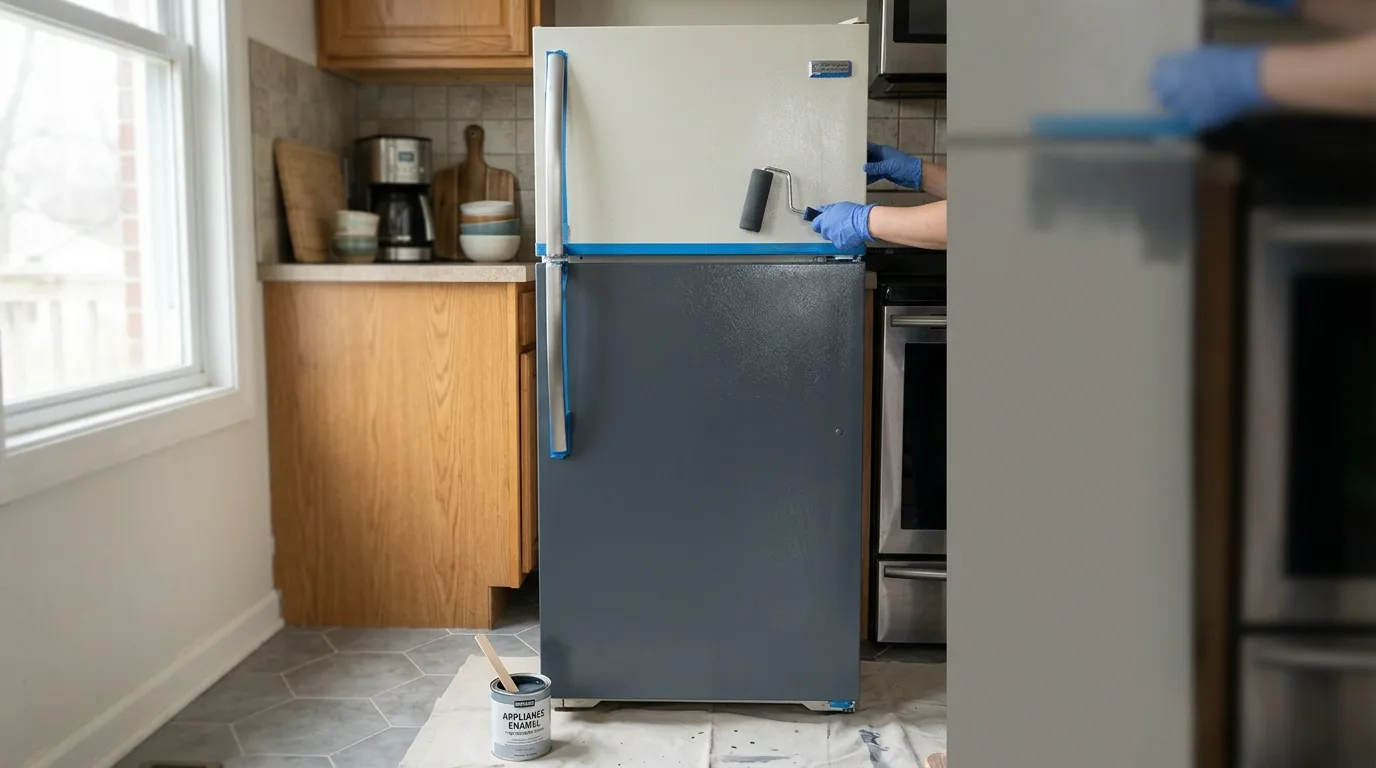
Enamel paint helps with durability
Laundry rooms are high-touch spaces, so choosing a durable appliance-safe enamel can help resist chips and scratches over time. Practical material choices are what make this hack worth doing.
Styling tip: Repeat the main color in a few places so the look feels connected instead of random.
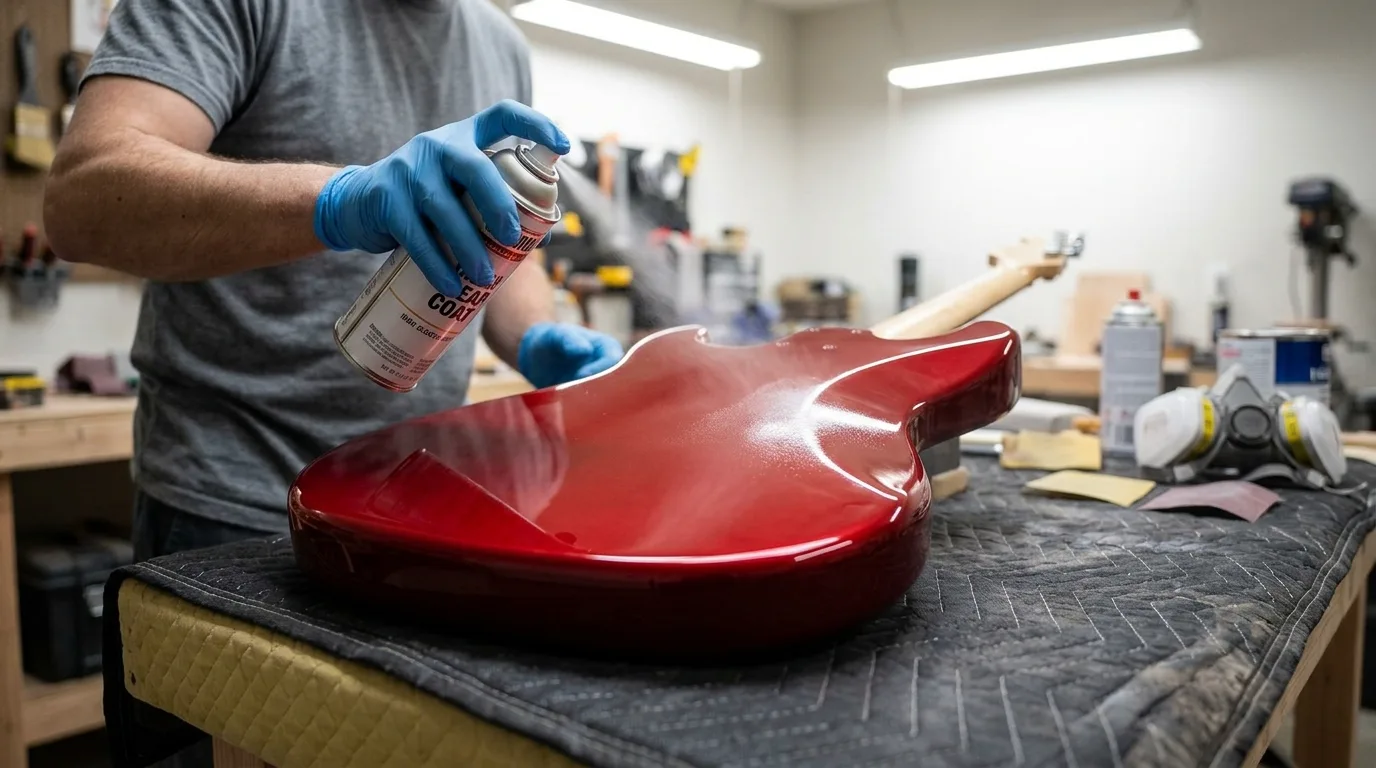
Seal everything with a clear top coat
A final protective layer helps the finish stand up to moisture, dust, and regular cleaning. Once the paint is sealed, the updated machines feel much more like part of a finished room makeover.
Styling tip: Repeat the main color in a few places so the look feels connected instead of random.
Final Takeaway
Painting a washer and dryer can completely change how a laundry room feels, especially if the appliances are the biggest visible surfaces in the space. Start with appliance-safe products and prep carefully for the best finish, then build around the pieces that make the space feel easier to use and nicer to look at every day.